


Vacation planning can be overwhelming and frustrating.
The internet’s a double-edged sword; all the information is at our fingertips, and at the same time, ALL the information is at our fingertips.
There’s no right way to plan a trip, but we are obsessive planners at Jaunty Everywhere.
We believe the anticipation of a trip (and the planning) is at least half the fun.
Vacation time is limited, and we want to squeeze the most out of our precious travel days.
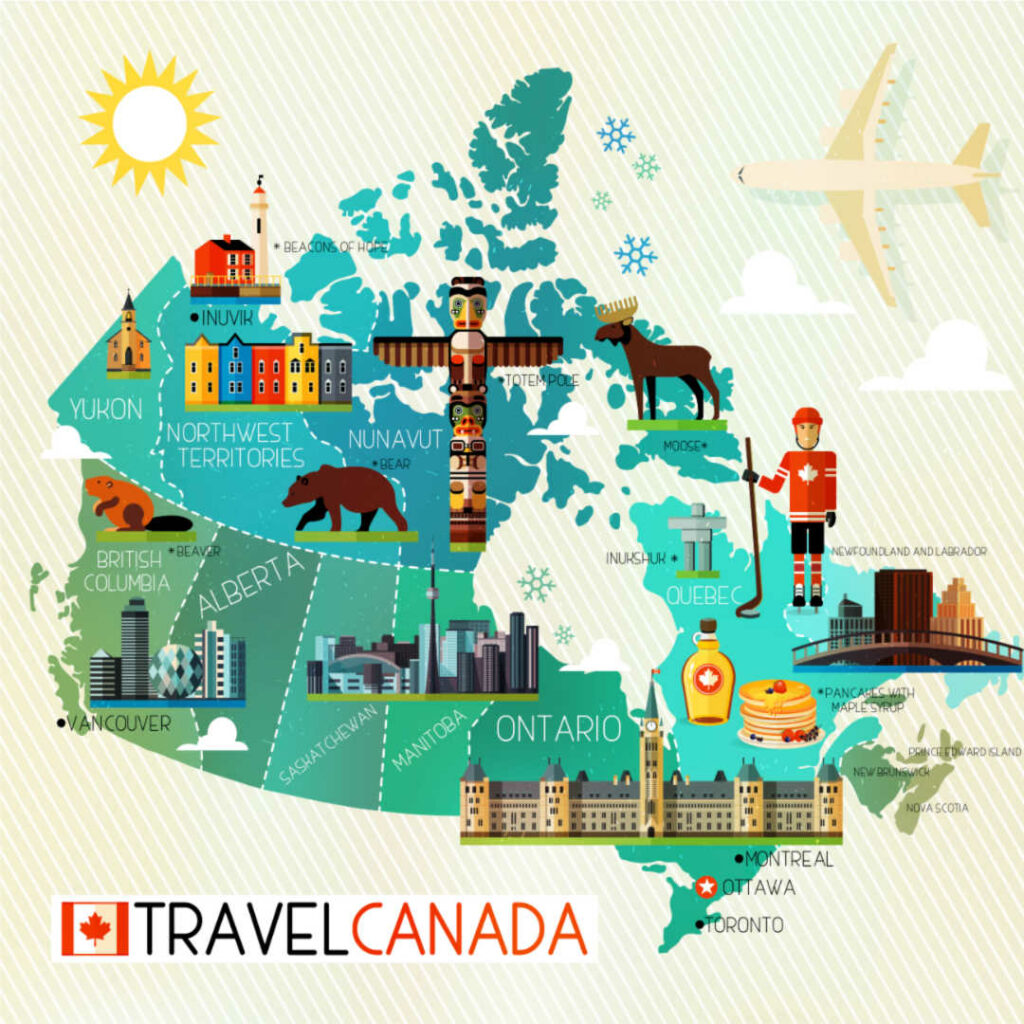
In this travel planning guide, we’ve listed every possible thing we could think of related to travel in British Columbia.
Will you need to do all these things for every trip? No.
Will you want to do all these things for every trip? No.
But you will be able to make an educated decision on what parts of the vacation planning to-do list are helpful and a joy for you, and forget the rest with an easy mind.
And if you want more?
We’ve included links to further reading about every aspect of vacation planning.
Passport note:
First things first – for US citizens traveling to Canada through an airport, you will need a valid passport.
Travelers coming over the border on wheels or feet probably also need a passport – a passport is the best way to cross the border. There may be alternatives in some instances – you can read all the fine print here.
My recommendation is to get your passport and become a world traveler!
Some people will need a visa to enter Canada – use this handy questionnaire provided by the Canadian government to find out if you need one.
Step 1
Explore before
Spend some enjoyable time exploring what type of vacation you want and where you’d like to go.
Answer these 5 questions.
What do you want the experience to be like?
When will you go?
Who will you go with?
What is your initial budget?
Where will you go?
To dive deeper into these questions, see our post:
Picking Your Next Vacation Destination
Top questions people have about British Columbia:
What is the best month to visit British Columbia?
Shoulder season is the golden season in western British Columbia. All along the coastline from April to early June and September to early October, you will have the ultimate combo of lovely weather and fewer crowds.
The eastern side of British Columbia is drier and colder overall – this is where you’ll find the areas primo ski areas like Whistler.
What is the rainiest month in British Columbia?
November is the wettest month in maritime British Columbia.
The entire Pacific Northwest can expect rain in late October – March.
And remember, if you’re looking for snow, December to March are your months at B.C.’s top ski areas.
How many days do you need to visit British Columbia?
Even compared to Washington and Oregon, British Columbia is HUGE.
Add in the island factor (British Columbia has over 40,000 islands – some you’ll want to visit) and the need to use the ferry system, and you’re going to have to prioritize carefully.
For example:
We’ve had plenty of fun spending 5 days on The Sunshine Coast.
Most people recommend 2-4 nights in Victoria. By taking advantage of the Victoria Clipper out of Seattle, you can add this beautiful excursion to your Washington vacation.
If you live within a few hours of the Candian border, you can take many short trips like this to key destinations.
For those planning a dedicated tour of the region, keep these things in mind:
- Driving distances between major destinations
- Waiting time at ferry terminals, crossing waterways, border crossing
- Two-lane highways to almost everywhere you want to go
- Twisty turny terrain making its way around the 1000’s miles of craggy coastline and mountain range
Plan plenty of time to get from point A to point B.
What should I not miss in British Columbia?
My top 10 suggestions are:
Victoria
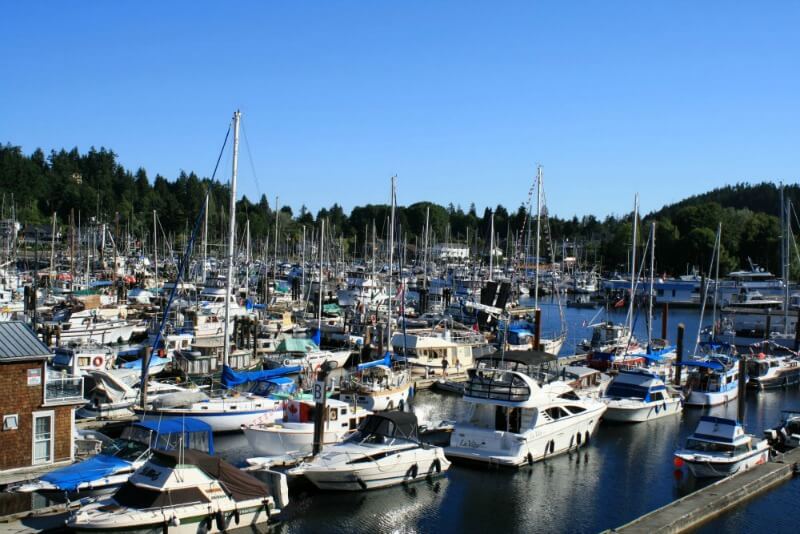
Vancouver Island
The Sunshine Coast
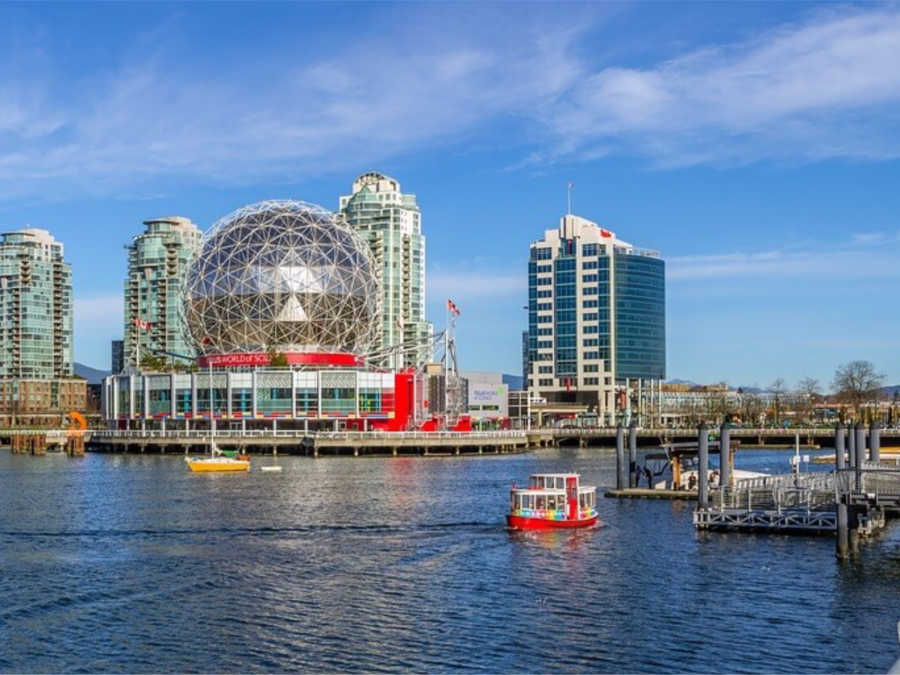
Vancouver B.C.
Whistler
Salt Spring Island
Okanagan Valley
Tofino and Pacific Rim National Park Reserve
Fraser Canyon area
Haida Gwaii
Step 2
Learn
After deciding on a location, learn more about it.
This is a significant part of our enjoyment and almost as much fun as the trip itself.
We learn all we can before to enrich the experience.
Try these resources for oodles of ideas:
Exploring Cultures and Countries
Let’s say you plan to spend some time in Vancouver, BC.
You could read a few books like; “Jade Peony”, “The Lost Ones” or “Plenty”.


Check out an unusual guidebook – Ross Penhall’s Vancouver

Watch a few YT videos to get familiar with the city:
How to Travel Vancouver (2022) – 29 Best Things to Do in Vancouver Canada
Vancouver Travel Tips: 11 Things to Know Before You Go
MUST VISIT PLACES IN VANCOUVER – Canada Travel Vlog
Get the Vancouver BC puzzle:

Step 3
Transportation:
Plan how you will get to/from and around British Columbia
1. Check existing reward accounts for frequent flyer miles.
Take a look at all your credit card reward accounts and frequent flyer accounts, and inventory your points.
Keep this handy as you do your research.
2. Plan travel hacking.
Start planning if reward cards and frequent flyer points are part of your strategy.
A Beginner’s Guide to Travel Hacking: Earning a Free Flight in Under 15 Minutes
The Easiest Way to Practice Travel Hacking with Credit Cards
TPG Beginner’s Guide: Everything You Need to Know About Points, Miles, Airlines, and Credit Cards
3. Search for flight deals.
Here’s my favorite resource to help you find a good deal on flights:
Kayak has a clean, clutter-free look and excellent filters to find exactly what you need.
You will most likely fly into Vancouver International Airport (YVR).
4. Book flights.
Pull the trigger, push the buy button, and lock it down!
Now dance around the house and whoop and holler.
You just committed to travel!
It’s normal to freak out a little.
5. Book a rental car.
My go-to resource again is Kayak Car Rentals.
Be sure you are signed up for the rental companies’ rewards program to take advantage of your points.
And, yes, you will need a car in British Columbia. The only time you can forgo a car is in downtown Vancouver or Victoria.
6. Prepare your car.
If you will be road-tripping, service, or get your car serviced.
It’s also nice to give it a thorough cleaning.
7. Plan how to get to the airport.
And how to get home.
Where will you keep your car?
Parking at the airport can be expensive, but there are car lots around the periphery with shuttles and deals to be had if you do some digging.
Ask a friend or family member to drop you off and pick you up – return the favor when they fulfill a travel dream.
8. Plan how to get to your first accommodation.
Have you ever gotten off a plane and not been tired?
Add unfamiliar surroundings and a possible language barrier, and you have the makings of a family argument.
Welcome to paradise!
To save stress, figure out how you will get from the airport to your first location.
Pull up the airport map and locate where you need to go to catch a shuttle, Uber, or pick up your rental car.
If you’re staying at a hotel, see if they offer an airport shuttle. That’s my personal favorite – it’s practically stress-free.
No hotel shuttle?
We find Uber or Lyft to be the next best option.
Unless your first stop is downtown Vancouver or you’re heading straight to Victoria, my best advice is to get a car at the airport.
9. Consider strategic flights.
Creatively using layovers or open-jaw flights can add another location without added time or expense.
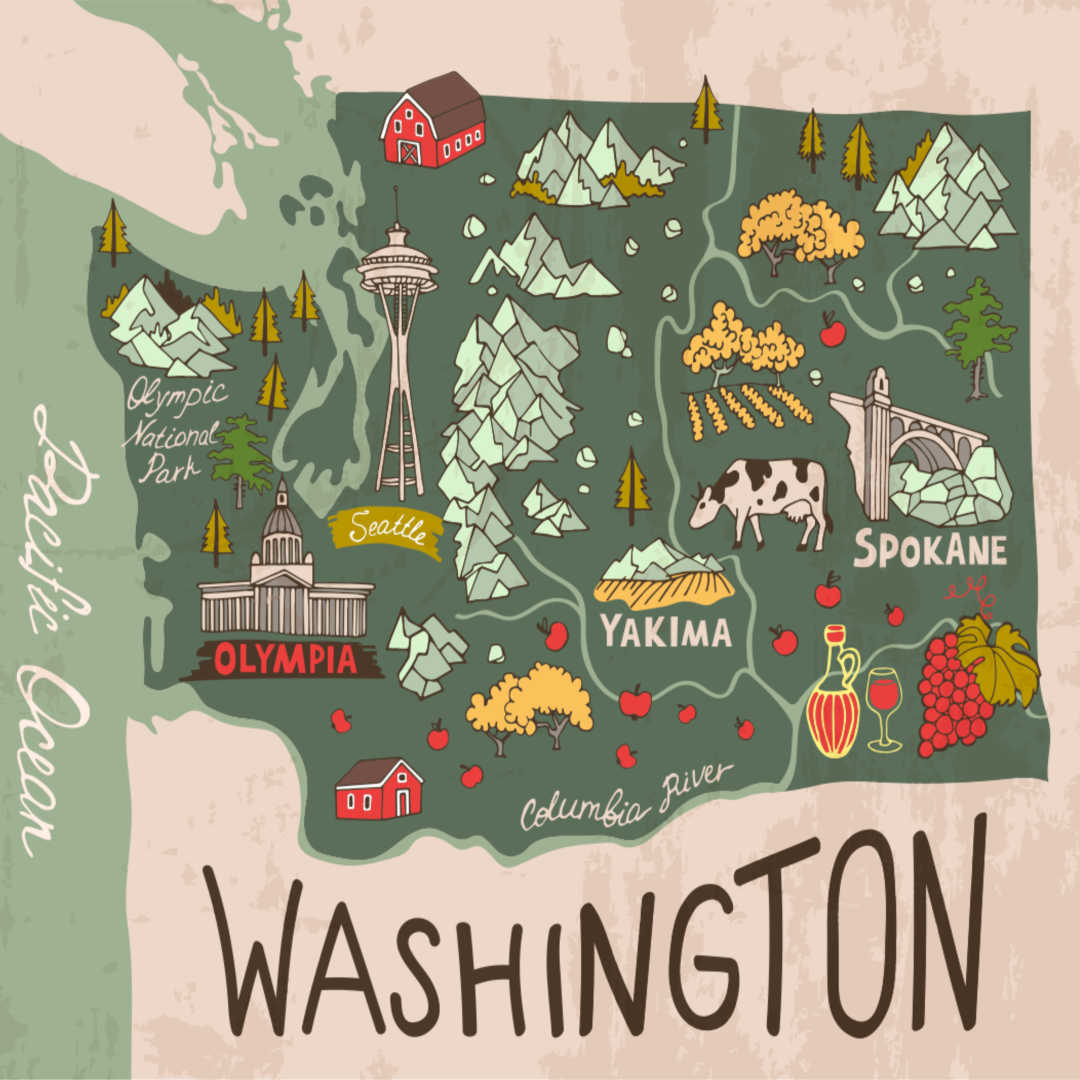
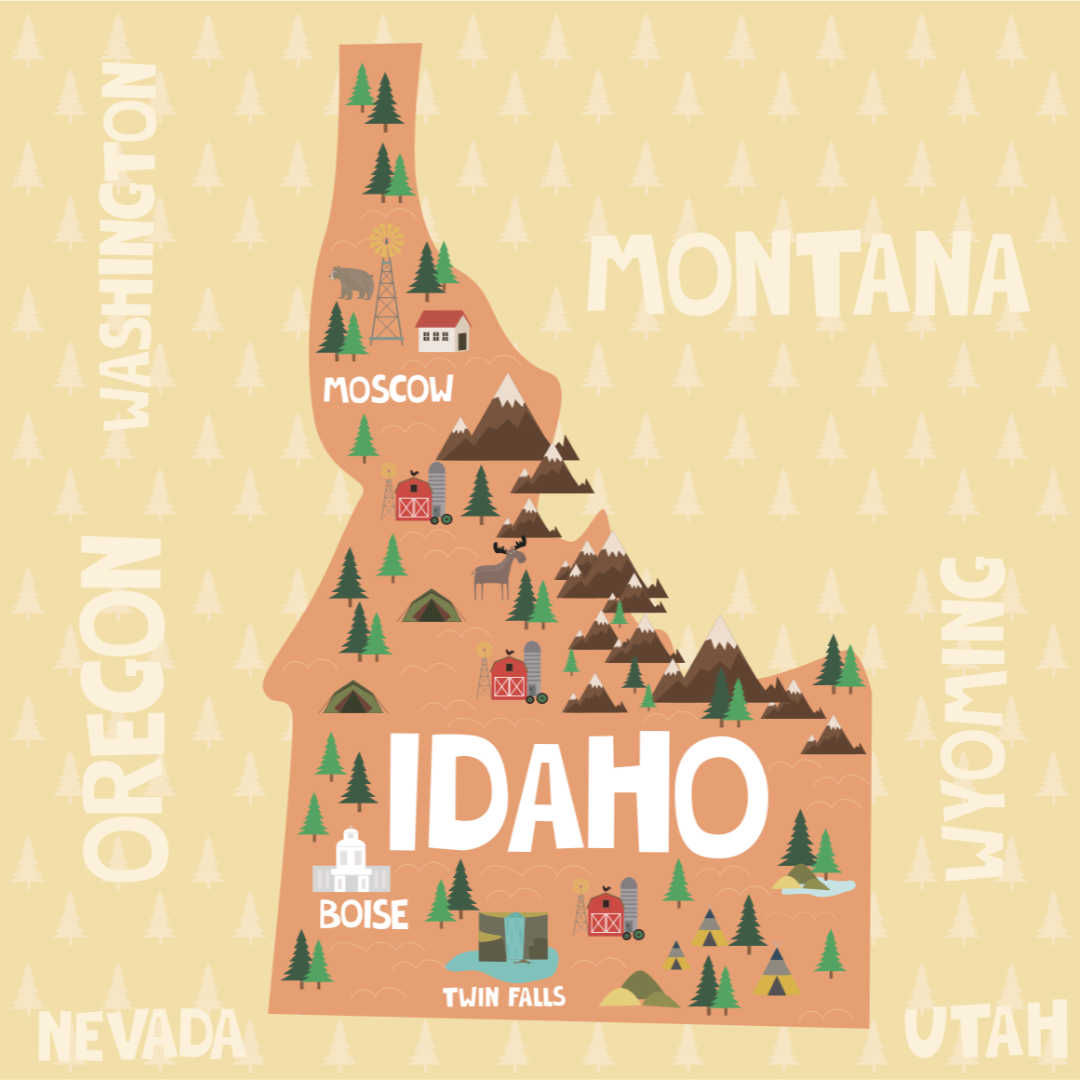
If you want to see the east side of Washington State or Northern Idaho, use Spokane International Airport (GEG).
Are you hoping to include Seattle? Consider flying in or out of Sea-Tac (SEA).
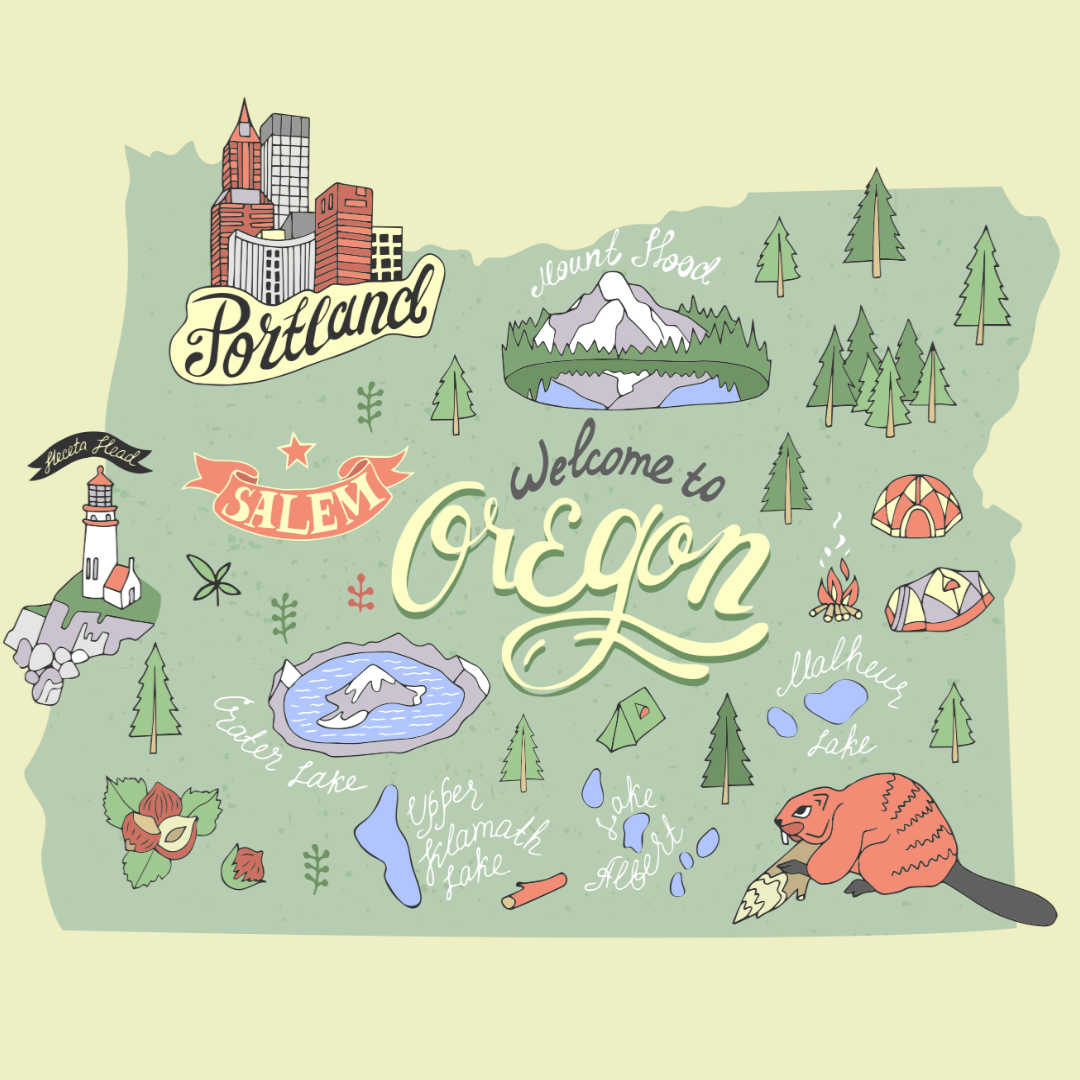
One of our favorite airports for user-friendliness is Portland International Airport (PDX). Visit Portland, OR, and the other Vancouver (in Washington) and double the fun.
How to Book Open Jaw Flights to Save Time and Money
Step 4
Details, details, details:
Time to get down to the nitty-gritty.
If you are an obsessive planner, you will love this part.
Even non-planners will do themselves a favor by having a backbone of a plan. You don’t want to miss out on the adventure of a lifetime.
Vacations: To Plan or Not to Plan?
1. Create a rough itinerary.
Once you know your dates and flight times, create a vacation planner.
This could be as simple as a piece of paper or as complex as a spreadsheet.
In the middle, you might use a Google Doc and share it with your traveling partner(s) or keep a list in Evernote.
Yes, we use a spreadsheet.
Jody has perfected this part of the process, and by the time he’s done, it’s a color-coded piece of art.
It makes a great souvenir.
At a minimum, enter your flights and benchmark days with your general location.
You can keep fleshing this out with details.
2. Vacation planning with a Google map.
I resisted this for a long time – sorry, Jody – but I’m sold after a few trips with and without nanny Google.
You can get fancy with Google maps, using layers, color-coding, and icons.
Begin by marking the airport, all lodging, and major attractions.
We add all the places we hope to go to, including sights and restaurants.
Let me tell you about our restaurant plan.
The worst time for us to pick a place to eat is when we need a place to eat.
But even as an obsessive planner, I can’t predict exactly where we will be at the exact moment we want to eat every day of our trip. Sheesh!
Instead, I vet restaurants by checking out blogs and guidebook recommendations. I look at the menu to ensure it’s in our price range; I look at the hours and exclusive deals.
Then we mark 2-3 choices per area we plan to sightsee.
When it’s time to eat, we find our location on the Google map and see what’s pre-approved.
If we find something better or get a recommendation from a local, we follow it, but if not, we have options.
That’s the magic of Google maps.
3. Check for immunizations.
The landscape for Covid vaccines changes rapidly.
At the moment, Canada requires travelers to be “fully vaccinated.”
Start with this Canadian website to get the latest recommendations.
4. Locking down more details.
Continue to read and watch – add new places and ideas to your bucket list, the itinerary, and map as you discover them.
5. Get specific, making plans for each day.
Obsessive planners unite.
This is where we diverge from the masses.
General plans and rough itineraries are not good enough for us.
We need schedules; we need agendas; we need to know where we’re going to be on Tuesday at 2 p.m.
Ok, maybe not that specific.
Embrace your planning nature and get detailed.
Just keep a little sliver of flexibility for serendipity and plans going awry.
6. Book stuff.
I once missed out on a special Monet exhibit in St. Louis. It was very traumatic, and since then, if in doubt, I book.
Tours, shows, special exhibits, and popular attractions often sell advance tickets.
So I buy ahead.

Step 5
Accommodations:
Plan where you will lay your head each night.
1. Do general research on the type of lodging you want.
Different places in the state might suggest very different styles of lodging.
Some locations beg for a beachfront view, while others demand an off-the-main drag, quiet street.
Are you a hotel fan, a vacation home devotee, a camper, or looking for something truly unique?
2. Consider which neighborhood to stay in, based on activities.
If you make a beautiful Google Map, you’ll be able to see where you’re going to spend the bulk of your time.
Get a general idea of where you want to stay to save time on accommodation searches.
3. Check reward accounts for hotel points.
This is our favorite way to stay – free.
We use our reward points strategically – they can be of great value in big cities.
We stayed in a $ 400-a-night room for 4 nights in Washington DC – zero out-of-pocket dollars.
To be clear, $400/night rooms do not fit our travel budget.
Here’s our favorite source for hotel reward information:
4. Search for hotel options.
Even if you don’t plan to stay in a hotel, use the Kayak.com search engine – you might be surprised at what shows up.
Boutique hotels and inns can be affordable and charming.
For a clearinghouse of options:
5. Search Airbnb (or other rental sites).
You can find anything on vacation rental sites, from a spot on the couch to entire luxury villas.
Studios, apartments, and vacation homes are great options for groups and families.
Often rentals will give you more space for less money. A kitchen, multiple bedrooms, and laundry facilities can be money-saving options.
Rental properties are usually in residential areas, allowing you to meet locals, shop like a local, and travel slowly.
However, rentals often don’t have a pool, maid service, or other conveniences a hotel offers.
Prioritize your must-haves. Be clear about why you’re looking at rental options – is it the kitchen? More space?
Look at the location very carefully. Google Maps street view can tell you a lot about the area. Take a close look at the nearest commercial center and check out the types of business establishments. Are they the types of places you would frequent?
Read every review of the property. Look for any mention of neighborhood safety, water pressure, privacy, and noise. It can be hard to tell if someone has a legitimate beef or they’re super picky.
My son-in-law has a great rule of thumb for reviews – he ignores the 5’s and the 1’s and homes in on the 2, 3, and 4-star reviews. This avoids the pollyanna’s and the crack-pots – giving the most accurate picture.
We’ve had many great Airbnb and VRBO experiences and one horrible 8-night stay in Boston. In retrospect, I should have given more credence to the reviews.
Here’s a red flag: if the owner argues or justifies every complaint, beware! There’s a fine line between responding to negative reviews with clarifying information and being a jerk.
Ask about anything that makes you uneasy, and keep copies of all communication with the owner or agent.
Overall, we love the option of vacation rentals, but they take additional research if you want to get what you expect.
6. Look into house sitting.
Housesitting is becoming a viable option due to a few excellent services linking homeowners with travelers.
Stay for free to keep an eye on the owners’ property and usually pets.
We have never had the pleasure of housesitting, so here’s a great article on Nomadic Matt:
How to Become a Housesitter and Never Pay for Accommodation
And a few well-respected housesitting sites:
7. Look into a home exchange.
House swapping has been around for many years – even pre-internet.
Historically, house swapping has been popular with teachers and professors – having the summer off – swapping homes with other teachers.
But house swapping is available to anyone with a place of their own to offer.
You get all the benefits of rental homes or housesitting – but while you stay in your host’s house, they stay in yours. Besides the sign-up fee with the housesitting website, the swap is free.
Home swapping sites:
8. Look into camping.
Of course, there’s always camping.
I hear some people enjoy this.
Try Parks Canada or the Provincial (national) Parks.
Hip Camp is like Airbnb for campers.
9. Book lodging – with credit card points, reward points, or hard cash.
Finally, after you’ve narrowed down your options – reserve your space.
Be sure to save all confirmation numbers and agreement details.
And double-check your check-in and check-out date.

Step 6
Stay organized:
Travel seems to require an encyclopedia of numbers and paperwork.
Stay organized to avoid irritating inconvenience.
Below is a list of vacation planning tips and hacks to help you keep it all together.
1. Prepare to leave the house.
Create a checklist of things to do to get out of the house.
Here’s the one we follow:
Leaving the House – A Vacation Checklist
2. Keep copies of all confirmations and receipts.
You can keep paper copies, but we prefer to keep all the details in a cloud-based storage app – my favorite is Evernote.
That way, we have all the information available on the go.
3. Get an app like Trip-It to store your itinerary.
Sign up for a travel itinerary app for even more organization at your fingertips.
Trip-It is the favorite with veteran travelers. There’s a free version, which works great for occasional travel. If you travel a lot or have complex itineraries, the paid version will be worth it.
Trip-It keeps your flight, hotel, and rental car reservations straight. You can access the app on your phone, laptop, or smartwatch.
The app can connect with your inbox and calendar for seamless communication.
You can share your itinerary – with your travel partners or with someone back home for safety.
Trip-It will suggest hotels and transportation and give you neighborhood safety scores based on your travel location.
You can even access airport maps.
That’s all included in the free version. Spring for the pro app, and you will be an itinerary Ninja!
4. Print paper tickets as necessary – flights, events, pre-paid attractions.
Trip-it and your cloud-based record system will cover 90% of your paperwork needs.
However, you might want to print paper copies of key (expensive) tickets. I prefer to have boarding passes and pre-paid tickets to attractions in hand.
5. Let your credit cards and bank know if you’re leaving the country.
If you rarely travel out of state, it won’t hurt to let them know you will be traveling domestically.
Many credit card companies and banks handle this online in a simple form.
6. Check your cell phone plan.
For international travel, call your carrier and ask about options.
7. Get cash for tipping.
Check out this guide to tipping in Canada by Nina Out and About:
Tipping in Canada: When to Tip and the Average Percentages to Give Across the Country
Travel Guide to Tipping in the USA
8. Make photocopies.
Copy your passport, travel visa, driver’s license, and credit cards. Be sure to get the front and back.
Leave a copy at home with a trusted person and hide a copy in your bag.
If your documents are stolen (or lost), it will be easier to get replacements.
9. Print a paper copy of your travel itinerary.
We print our Google spreadsheet with all the bits of information.
Usually, we consult the itinerary via our phones, but it’s nice to have the hard copy to see the big picture.
10. Confirm reservations.
Check each flight, car rental reservation, and accommodation a week before leaving.
It’s very easy to think you booked a room – when in fact, you got distracted and forgot to hit the ‘buy’ button. I’ve done this twice. It’s easier to fix in front of your computer than in the lobby of the un-booked hotel.
11. Check in to your flight online before leaving home.
Double-check the gate and departure time.
Most airlines allow check-in 24 hours before the flight, and checking in can impact your seat assignment.

Step 7
Packing:
Everyone’s “favorite” sport is packing the suitcase!
1. Work from a packing checklist.
Working off a packing list is a must.
It ensures you don’t forget anything, but just as important, it helps prevent overpacking.
Don’t forget the 10 Must-Have Items When You Travel!
2. Line up clothes.
At least a week ahead, pick out your clothes and lay them out on the bed.
You will want to do this even sooner if you’re a fashionista.
Aim for all your clothes to coordinate. Evaluate every item.
Try everything on.
Make a list of items you need (or would like).
In western British Columbia, you will need a light rain jacket year-round.
Most locals don’t use umbrellas; you can see our PNW post to find out why…
Be sure to check the weather forecast. Just because it’s August doesn’t mean it’ll be warm and dry. And if you explore the coast or mountains, it can be uncomfortably cold if you aren’t prepared.
3. Shop for clothes to fill in gaps.
Just be sure to give any new clothes a trial run.
Wear it at least once before you pack it.
For shoes – give them a substantial test and wear them before committing.
Travel shoes are more like a marriage than a date. Pick carefully.
4. Organize your entertainment.
An essential skill for travelers is waiting well.
It’s much more fun if you come prepared.
Gather crossword puzzles, sudokus, or coloring books.
Download audio and e-books – but bring a small paperback too.
Line-up podcasts, movies, and music.
Buy a new magazine.
Whatever your choice of distraction, treat yourself.
5. Road trip food and cooler.
Snacks and road trips go together.
You might want to pack some basics – like condiments for sandwiches to get you started.
Check out our travel snack posts:
Ketogenic Hiking Snacks: Fueled by Fat
Hiking Snacks from Thrive Market
6. Pack personal hygiene and beauty items.
If flying, separate liquid items into a quart-size zip-top bag.
7. Pack car.
Whether flying or road-tripping, get everything into the car.
Before pulling out of the driveway, have everyone hold up their driver’s license (or ID), passport, boarding pass, and wallet. Put your actual eyes on them.
Thinking you have these mission-critical documents is different from actually having them. A lesson we’ve learned the hard way!
Step 8
Go!!
Following our vacation planning checklist won’t eliminate every travel planning mistake, but it will relieve many of the unknowns and anxiety.
Enjoy these resources as you plan your next trip to British Columbia.
Further reading
What is the Pacific Northwest: For Travelers
If you’re interested in extending your Pacific Northwest Trip beyond Washington, check out our other travel planning guides: