

Making sushi at home
Learn how to make homemade sushi with our basic tutorial, and have an international night at home.
What is an international night?
International night is a time to explore another culture through food, music, visuals, dress and other culturally significant elements. An international night can be as complicated or as simple as you want to make it.
The world is currently experiencing a pandemic. The need to stay home and quarantine has canceled many travel plans (we were going to be in Europe this week). A pleasant alternative to exploring the world physically is exploring the world from the comfort of home. Academically and through our taste buds.
International night
For a complete guide on how to plan an international night, see Exploring Cultures and Countries. Cheri (mom) writes all about how to have a multimedia, multi-faceted international night at home yourself or with family.
Giving everyone involved a task
Keep family members (especially younger ones) occupied by including them in the preparations.
Give each person a task that is suited to their abilities. Older kids can chop, follow recipes, and take on more responsibility while younger kids can help decorate the table, color placemats, assist others with the food making as possible.
Making sushi at home
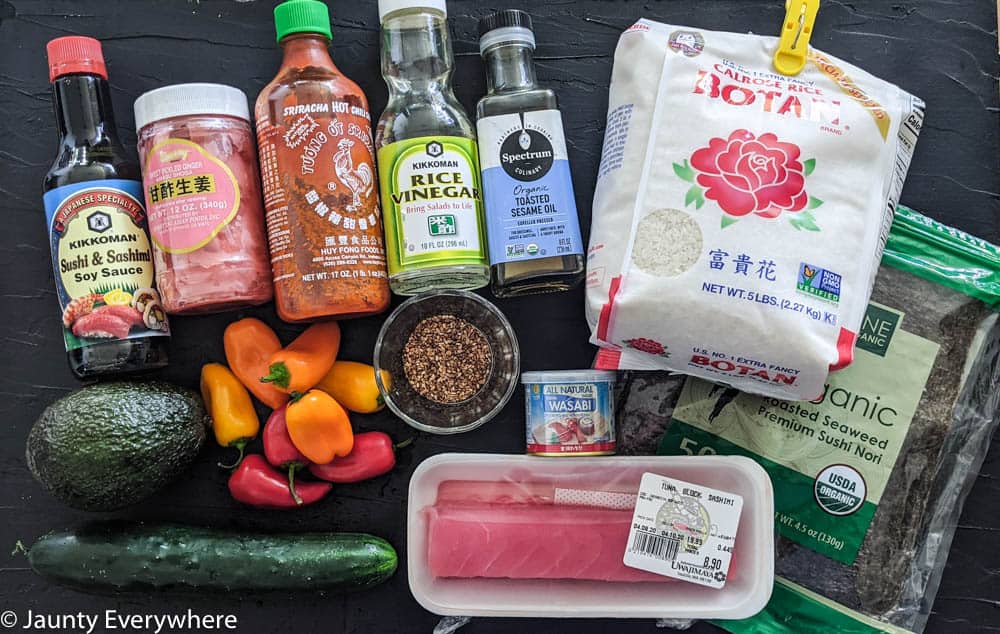
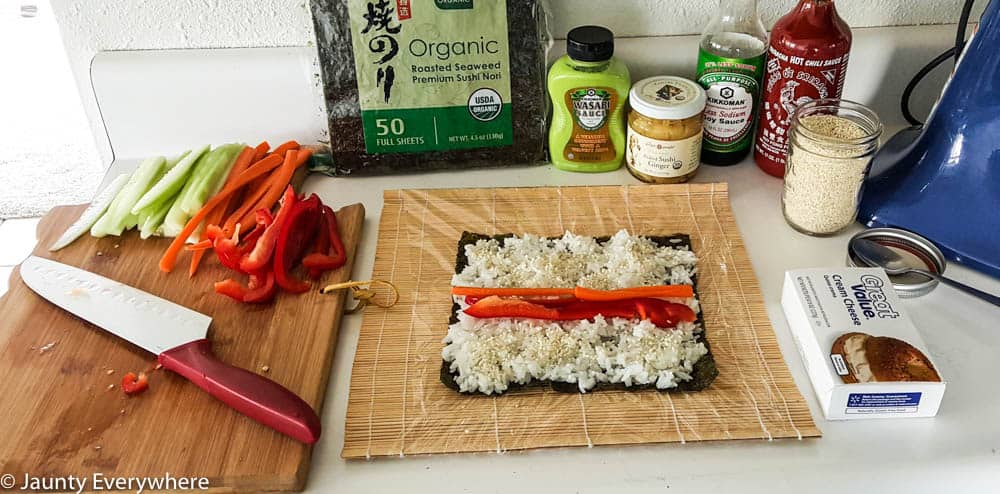
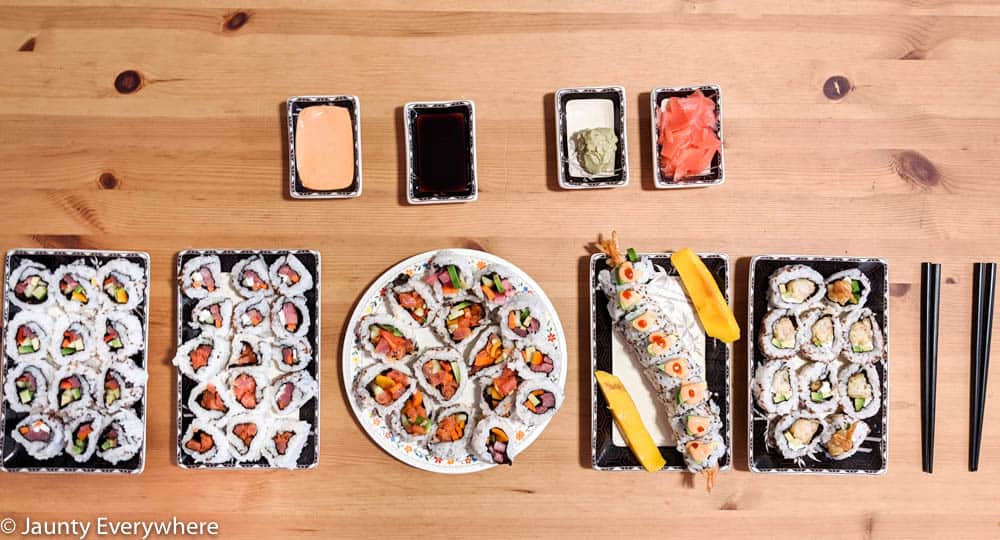
The ingredients
- Wasabi powder
- Soy sauce
- Pickled ginger
- Sriracha
- Japanese mayo
- Nori
- Sushi rice
- Seasoned rice vinegar
- Toasted sesame seeds
- Carrots
- Red pepper
- Cucumber
- Cream cheese
- Avocado
- Sushi grade salmon or tuna (optional)
- Tamari shrimp (optional)
Some links below are referral links, meaning, at no extra cost to you; we earn a commission if you make a purchase. Thank you for supporting Jaunty Everywhere in this way! See our full disclosure statement.
The equipment
- Sushi mat
- Rice cooker (optional)
- Mesh sieve
- Plastic wrap
- Sharp knife
- Cutting board
- Serving dishes
- Chopsticks
What kind of rolls to make
There are many different kinds of sushi rolls that you can make. There are typical styles of sushi that you will find in a sushi restaurant. Then there is also the option to pursue unique creations. Try non-traditional options to stuff your sushi.
A few common types of sushi include spicy tuna roll, dragon roll, tamari sushi, California roll, and many others. For recipes on how to make specific sushi see the resources at the end of this post.
Here we will cover basic sushi making steps to get you started making simple sushi at home.
Tips when making sushi
Is making sushi difficult?
Making sushi takes some set up and preparation. It also involves quite a bit of hands-on work. From preparing the different sushi elements, like chopping veggies and making rice, to the process of forming a sushi roll… it’s an intensive process. It’s not a boxed cake mix.
However, sushi is reasonably straight forward once you understand the different steps. Starting with a simple set of ingredients and creating a few straightforward sushi rolls is a great way to make it achievable.
When making sushi should rice be cold?
We have found that working with cooled rice is easiest. When its too hot, it’s hard to apply to the nori because it burns your hands, and it makes the nori sheets soften and tear and become hard to work with.
Cool the rice until you can touch it without getting burned. It doesn’t need to be cold.
How to learn sushi making
We’ve found the best way to learn sushi making was simply by diving in and trying it. The instructions below will get you started making sushi. Start simple, then try more complex techniques and sushi rolls.
Our first attempt was delicious, and as beginners, our rolls looked like beginners’ rolls.
We’re definitely not experts, but we’ve gotten a bit better.
Be realistic with your expectations and you’ll enjoy your meal way more.
Is making sushi at home cheaper?
Buying the materials to make at least five meals worth of sushi for two people cost us about $70. That is approximately what we would pay to go out to sushi twice for two people.
How to make sushi at home safely
When making sushi and working with raw fish, it is essential to be aware of two things:
- Is the raw fish sushi grade?
- Is the fish fresh?
Sushi grade fish can be found at farmers’ markets, Asian food markets, and fish markets.
Sushi grade fish is very fresh and has been kept cold. It’s labeled as ‘sashimi grade.’
After purchasing fish for your sushi, be sure to get it on ice or in the fridge as soon as possible.
For a guide on what fish types are safe for eating raw, see Sushi Modern’s Safe Sushi-Grade Buying Guide. Sushi Modern also has an article about using Costco fish for sushi: Make Sushi from Costco Salmon and Sushi.
Sushi making day
Have extra time to make sushi?
Don’t start at dinner time or you’ll be too hungry.
Sushi rice takes approximately a half-hour to cook in a rice maker. Possibly longer if cooking on the stove. Then it needs to cool for twenty to thirty minutes.
Suggested sushi making timeline:
2 hours before you want to eat:
- Start sushi rice in the rice cooker
- Lay out all your equipment
1.5 hours before you want to eat:
- Fluff the rice with the seasoned rice vinegar (see instructions below)
- Set rice aside to cool
- Begin chopping veggies
- Make sushi sauces – wasabi, spicy mayo…
1 hour before you want to eat:
- Gather all other ingredients
- Chop fish – return to fridge until using
- Wrap sushi mats in plastic wrap
- Lay out workspace
- Toast sesame seeds in the oven under the broiler for 3 minutes
45 minutes before you want to eat:
- Begin making sushi rolls
- Cut sushi rolls into pieces and layout on plates
- Set the table for the meal
- Set individual dishes of sauces for each person
Shopping list
What to buy when making sushi
- Wasabi powder
- Soy sauce
- Pickled ginger
- Sriracha
- Japanese mayo
- Nori
- Sushi rice
- Seasoned rice vinegar
- Sesame seeds
- Carrots
- Red pepper
- Cucumber
- Cream cheese
- Avocado
- Sushi grade salmon or tuna (optional)
- Tamari shrimp (optional)
Going shopping – online or at the store
Where to buy sushi-making supplies
Sushi making ingredients can be found in Asian food markets, most grocery stores, and online.
You can find the veggies and cream cheese at your local grocery store. Check a specialty store, or the Asian food section for the other items listed.
As an alternative, below is an amazon shopping list for items that may be harder to find:
- Wasabi powder

- Soy sauce

- Pickled ginger

- Sriracha

- Japanese mayo

- Sriracha mayo (option instead of Japanese mayo and sriracha sauce)

- Nori

- Sushi rice

- Seasoned rice vinegar

- Sesame seeds

Where to buy sushi-making equipment
You can find sushi-making equipment at Asian food markets, some grocery stores, and online.
- Sushi mat

- Sharp knife

- Rice cooker (not a requirement, but an easy way to make sushi rice)

- Mesh sieve

What rice for making sushi?
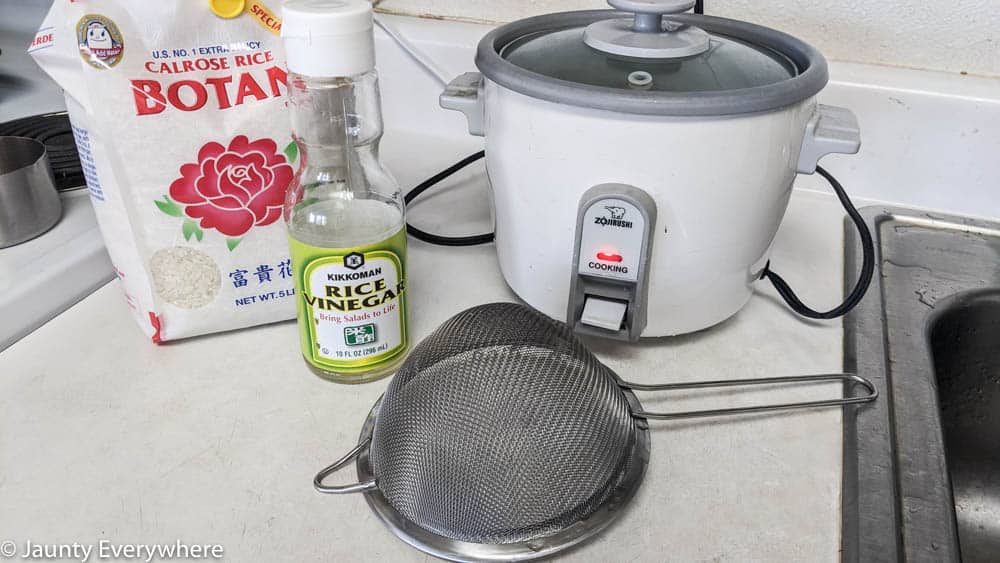
We have found rice specifically meant for sushi to be the best option. Sushi rice has a shorter grain and comes out as slightly stickier than other types of rice, which makes it great for holding the sushi rolls together.
The rice we use most often is Nishiki. Though any sushi rice will work.
Making sushi rice
To make sushi rice start with rice meant for sushi (see above). You will also need rice vinegar and sugar or seasoned rice vinegar, and of course, water.
You can cook sushi rice on the stove or in a rice cooker.
Cooking rice on the stove
To cook, sushi rice on the stove begin by gathering your pot, measuring cup, rice, and rice vinegar. You will also want a wire mesh sieve to rinse the rice in.
- Pot
- Measuring cup
- Rice
- Seasoned rice vinegar (or rice vinegar and sugar)
- Spoon
- Mesh sieve
Measure out the amount of rice you want to cook. We made six sushi rolls with 1-3/4 cups of dry sushi rice. Pour your rice into a metal sieve and run under water until thoroughly rinsed. Rinsing cleans the rice. You can do this or not, personal preference.
Add 3-1/2 cups of water and 1-3/4 cups of rinsed sushi rice to a pot. Set on the stove and cook covered over medium heat until the rice is soft.
Cooking rice in a rice cooker
If you are using a rice cooker, I suggest using a little less water than you usually would as you don’t want the rice to become too soft.
Add the rice to the rice cooker. Pour in the amount of water suggested for the amount of rice used. A good ratio of water to rice is one part rice to two parts water.
Turn the rice cooker on and let it do its thing until it turns off.
For more information see Fifteen Spatulas for a tutorial on How to Make Sushi Rice in a Rice Cooker
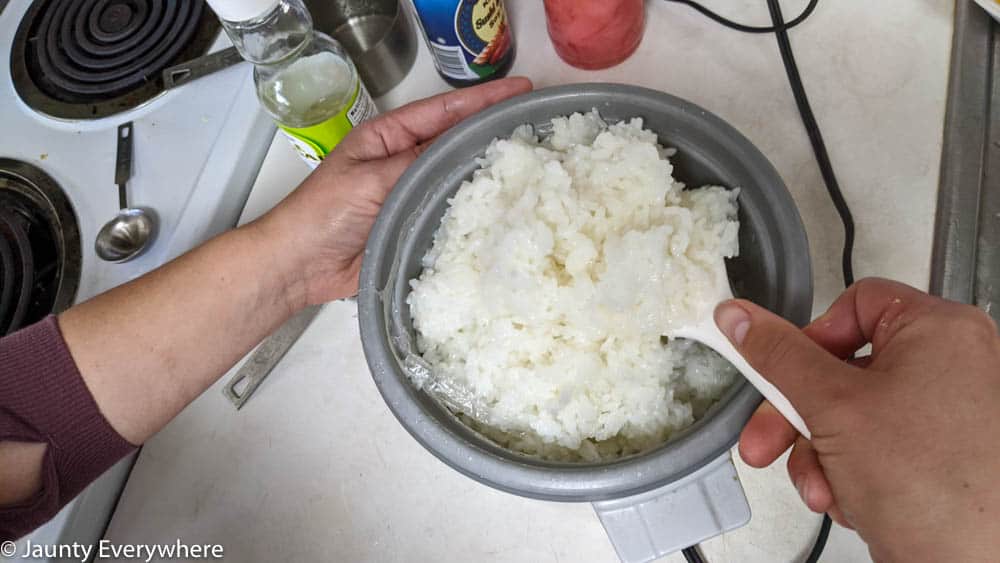
Adding the rice vinegar
When the rice is done fluff it gently with a fork as you pour the rice vinegar over the rice.
Add 1/3 cup of rice vinegar to every 1-3/4 cups of rice used. If you are not using seasoned rice vinegar, then add 1 teaspoon of white sugar to the rice vinegar and stir until the sugar dissolves in the vinegar.
Measure out the rice vinegar and as you fluff the rice gently with a fork pour the rice vinegar over the rice.
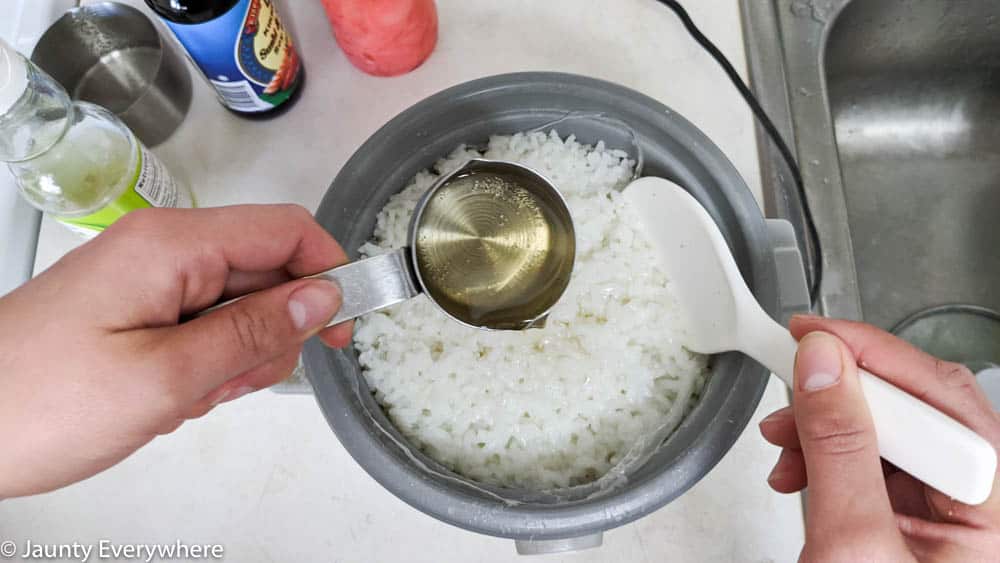
Allow the rice to sit to cool.
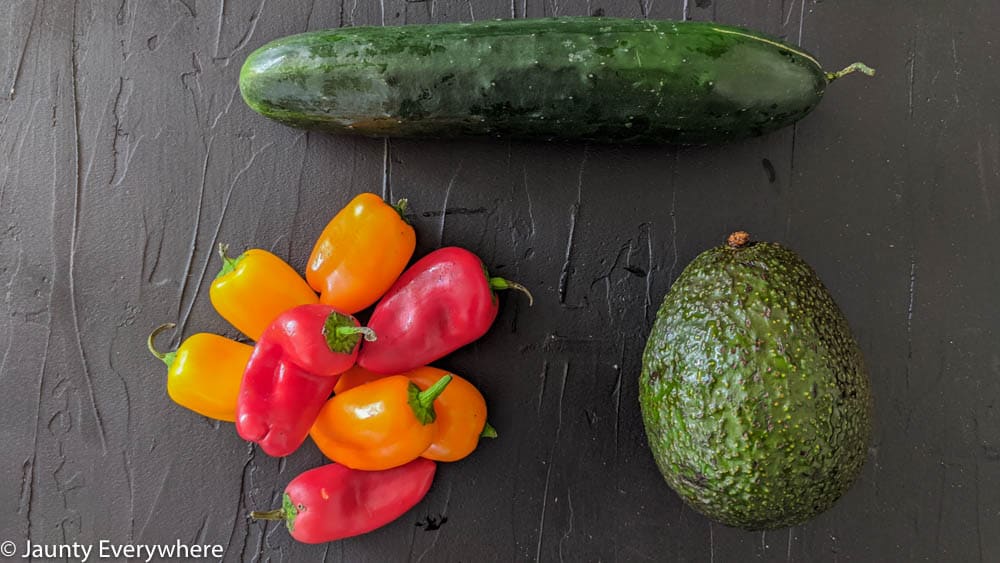
Prepping veggies
Prep the veggies as suggested below and then set aside until you are ready to make your sushi rolls.
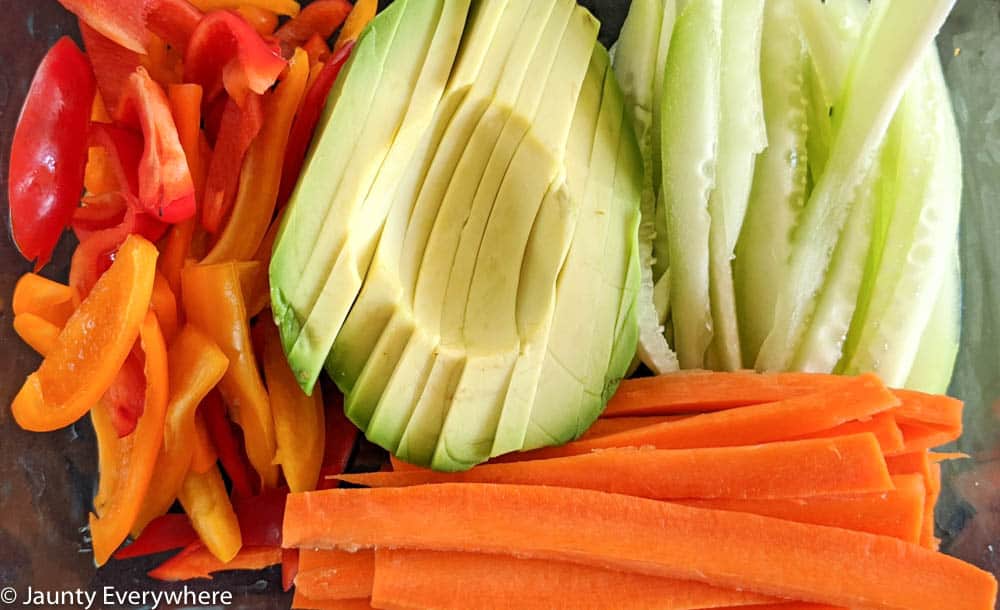
Carrots – Peel off all the skin. Cut carrot in half down the length. Cut these pieces in half again and then into narrower strips.
Red peppers – Remove the stem of the pepper as well as the seeds. Cut the pepper in half and then cut it thinly into strips.
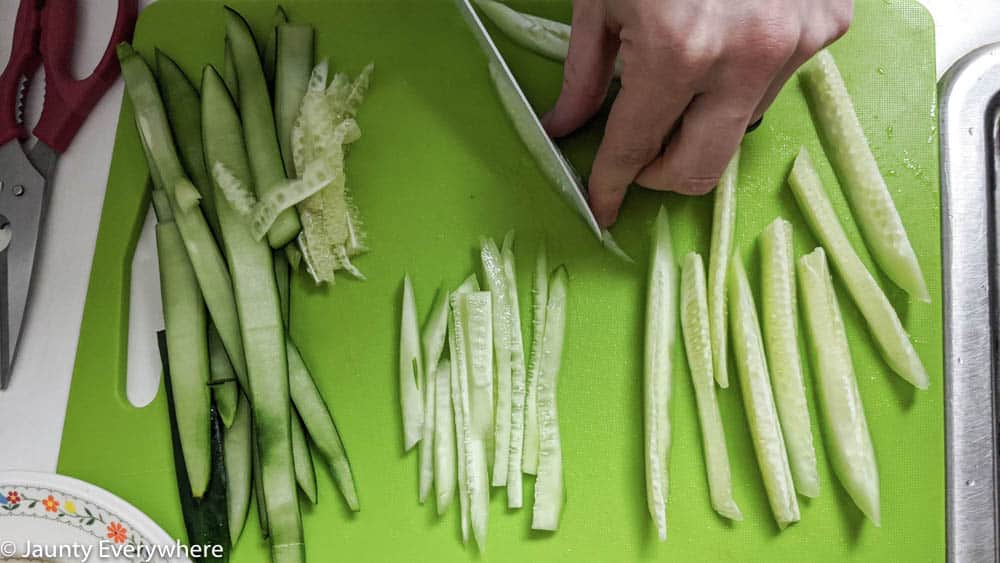
Cucumber – Peel the skin off of the cucumber. Cut the cucumber in half and then in half again. Cut off the inner portion where the seeds are. Thinly slice the remaining strips of cucumber into 1/4″ wide pieces.
Avocado – Cut avocado in half. Remove the pit. Holding the avocado in your hand slice only into the flesh of the avocado, not through the skin – cut slices into the avocado. Using a spoon carefully scrape out the flesh away from the skin.
Making sauces and prepping garnishes
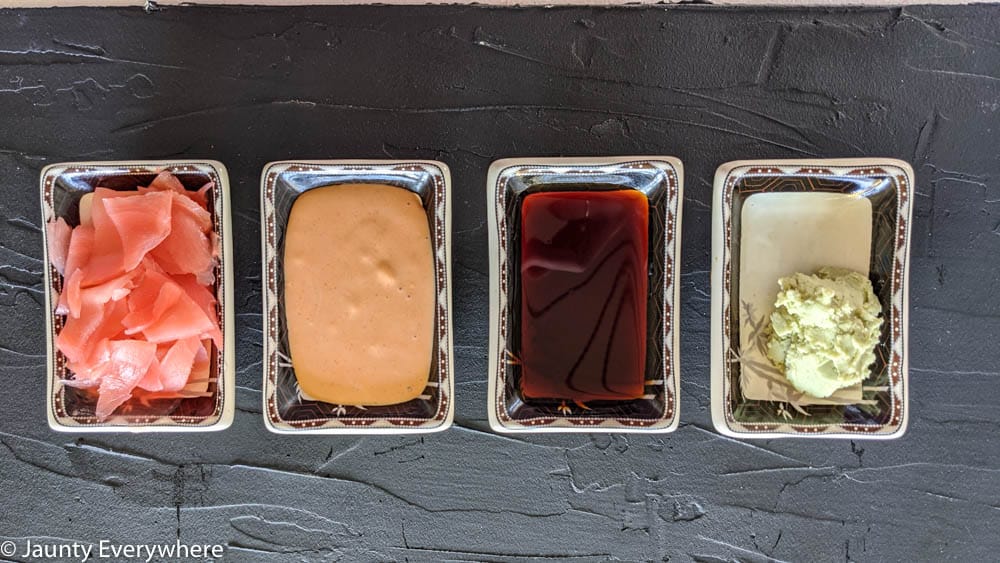
Pickled ginger – This can be served in individual dishes for each diner, or served in a bowl with a serving spoon as a communal dish.
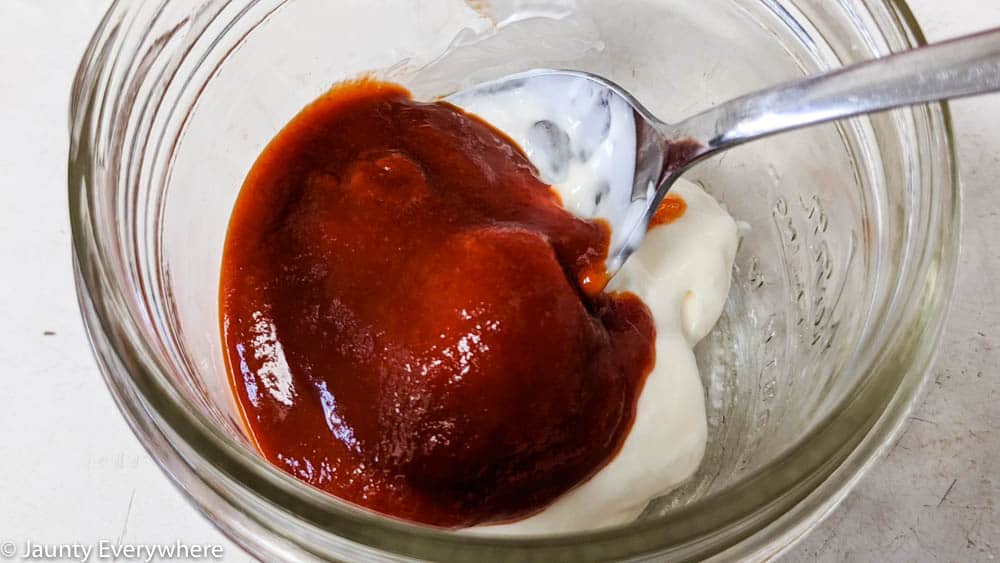
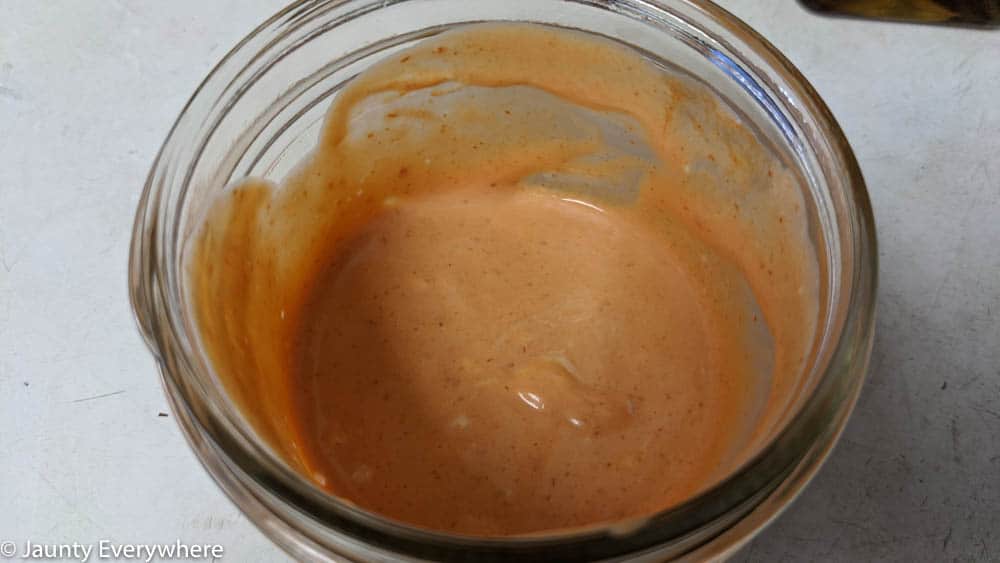
Spicy mayo – To make spicy mayo use two parts mayo to one part sriracha. Stir this up well.
Soy sauce – Pour soy sauce into a small dish for dipping.
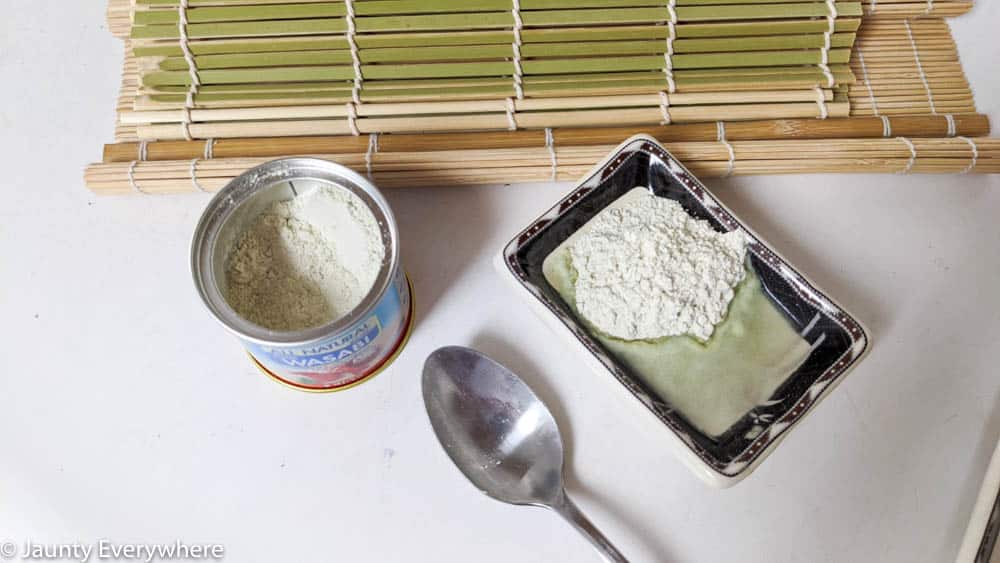
Wasabi paste – We usually use wasabi powder, which we then turn into wasabi paste by adding water.
Spoon out the powder into a small bowl and add a little water. Thoroughly mix the water into the powder, slowly adding water until the mixture resembles a thick paste.
Serve the wasabi paste in a small dish, or add a small dollop to each person’s plate.
Setting up the workspace
Clean a counter or table space to work.
On the work surface lay out a cutting board and knife, a bowl of water, the plate of veggies, nori, a bowl of sushi rice, empty plate, and raw fish.
Working next to a sink is helpful, but not necessary.
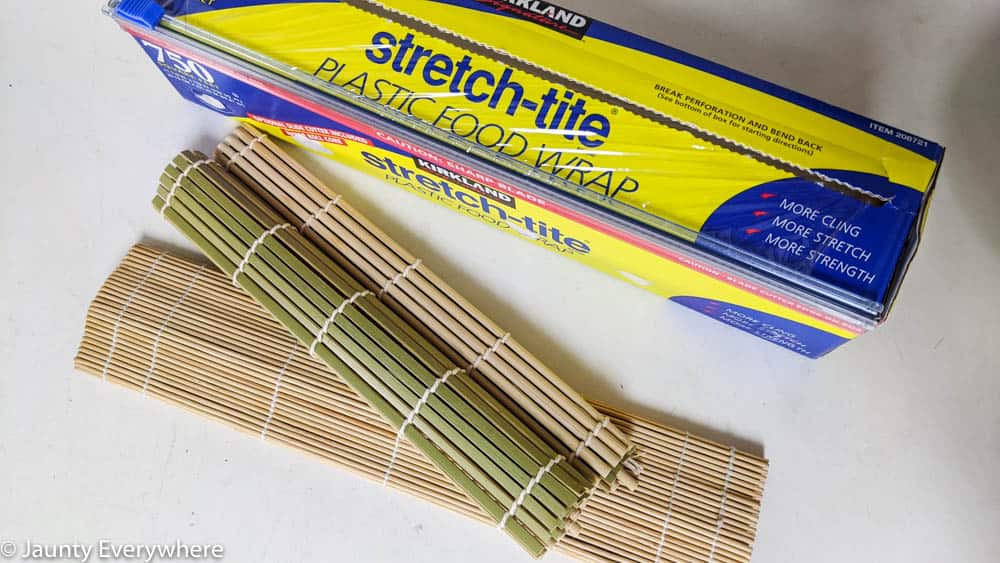
Prep your sushi mat by wrapping it in plastic wrap. Cut a piece of plastic wrap that will wrap all the way around the sushi mat and overlap on itself. This creates a “sleeve” around the sushi mat so that it stays clean as you work with it.
How to make a sushi roll
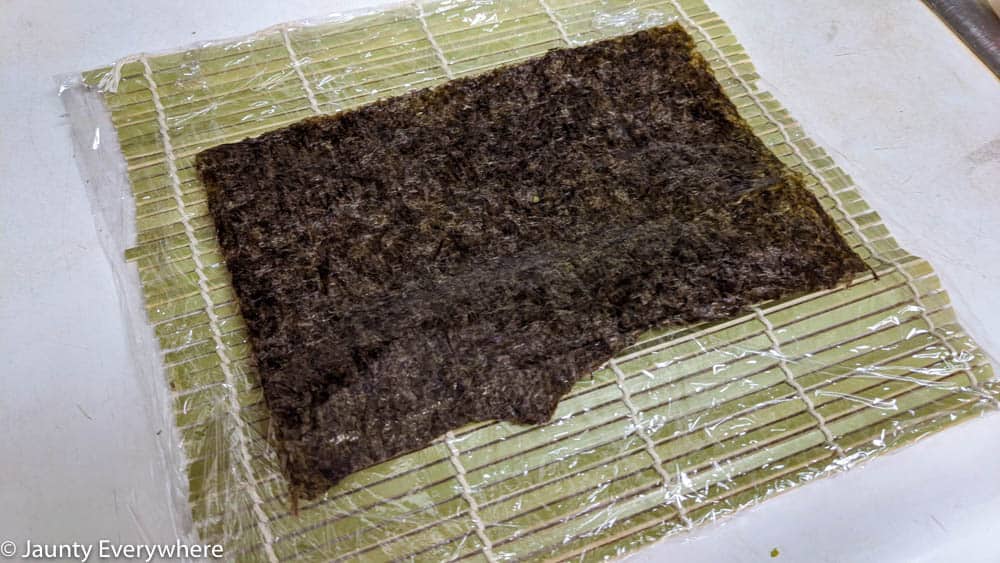
To start a sushi roll, remove a piece of nori from the package. Nori usually has faint indentations or lines on the surface. Count out four sections on the nori and tear off along the fourth line. Place the nori on your wrapped sushi mat.
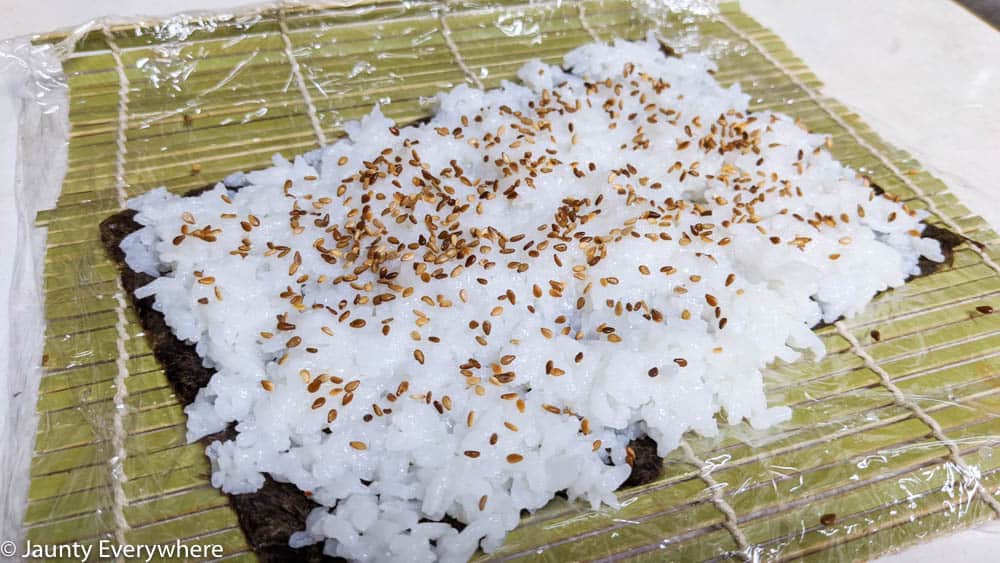
Wet your fingers in water and tap them off so they are still damp but not dripping. This will help keep the rice from sticking to your fingers.
Using the cooled sushi rice, apply the rice to the nori in a layer about 1/4″ thick. Gently spread it, don’t press it down because you want the rice to stay fluffy and not get squashed.
Once the entire piece of nori is covered, sprinkle some of the roasted sesame seeds over the rice.
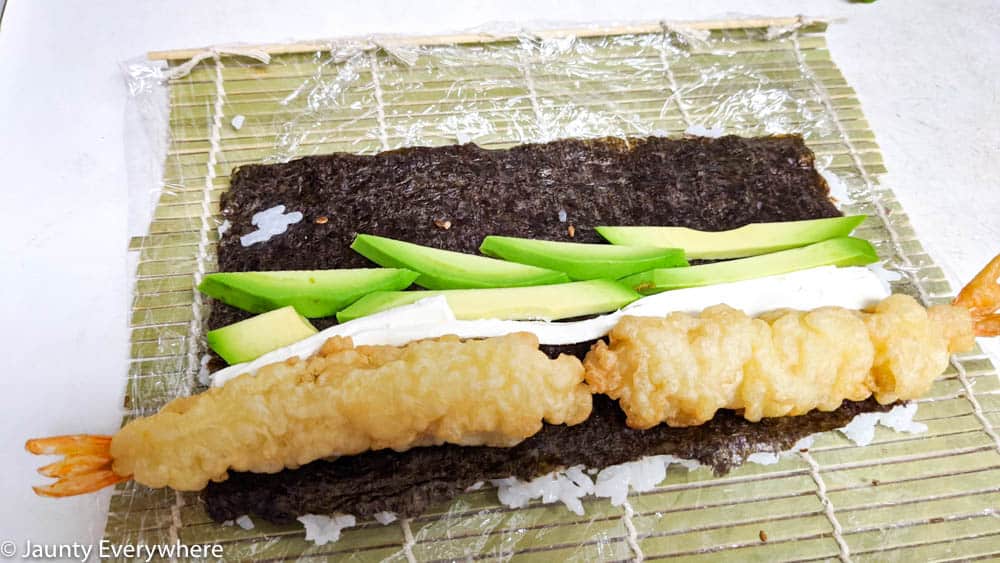
Flip the piece of nori over and place it on the sushi mat so that the edges are parallel and the rice side is against the mat.
Begin to lay out veggies and the fish onto one of the long edges of the rice covered nori piece.
Just add a few rows of fillings. If it gets too full, it will be too big to roll up, and you’ll end up with broken sushi.

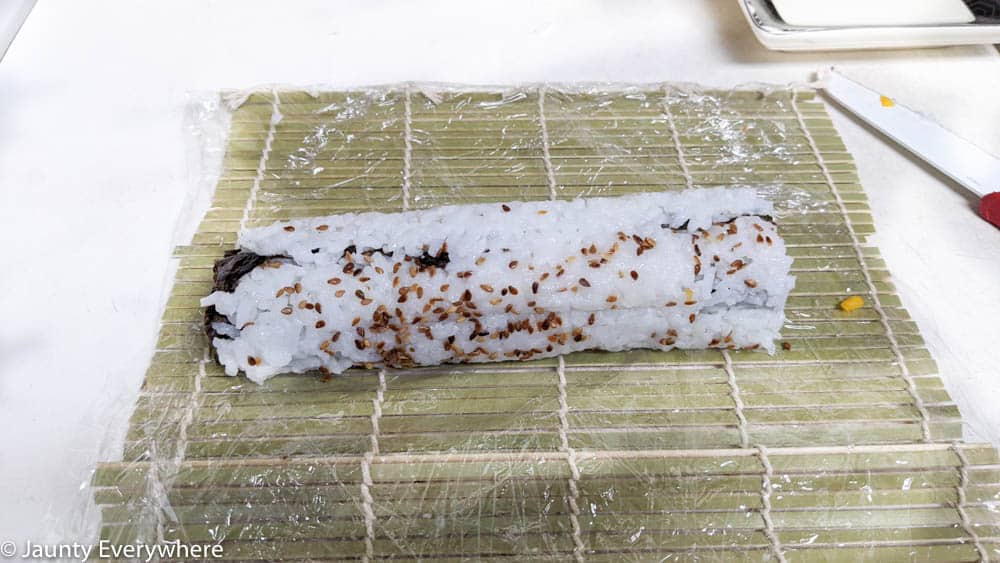
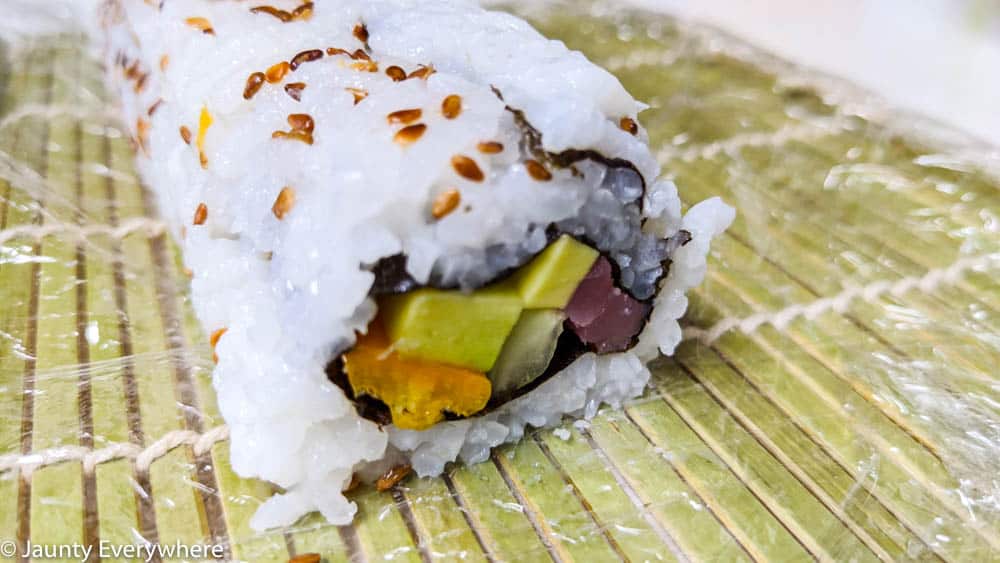
Using your fingers, start gently rolling the edge with all the fillings over, like a burrito, and then use the mat to continue rolling until the nori has turned into a complete cylinder.
With the mat draped over the sushi log gently squeeze along its length to press the rice and nori together. This holds the roll together.
Your sushi roll is now ready to be cut into pieces.
Cutting the sushi rolls
To cut a sushi roll use a very sharp knife.
Before cutting into the roll, wet the knife, as you did with your fingers earlier. This will help keep the rice from sticking to it.
Cut into the sushi log making pieces that are about one inch thick or less. I like to cut mine a little thinner because then they fit in my mouth more comfortably. Sushi is eaten one piece at a time, you can’t take bites, so consider this when filling your roll, and when cutting it into pieces.
Beginners guide printable
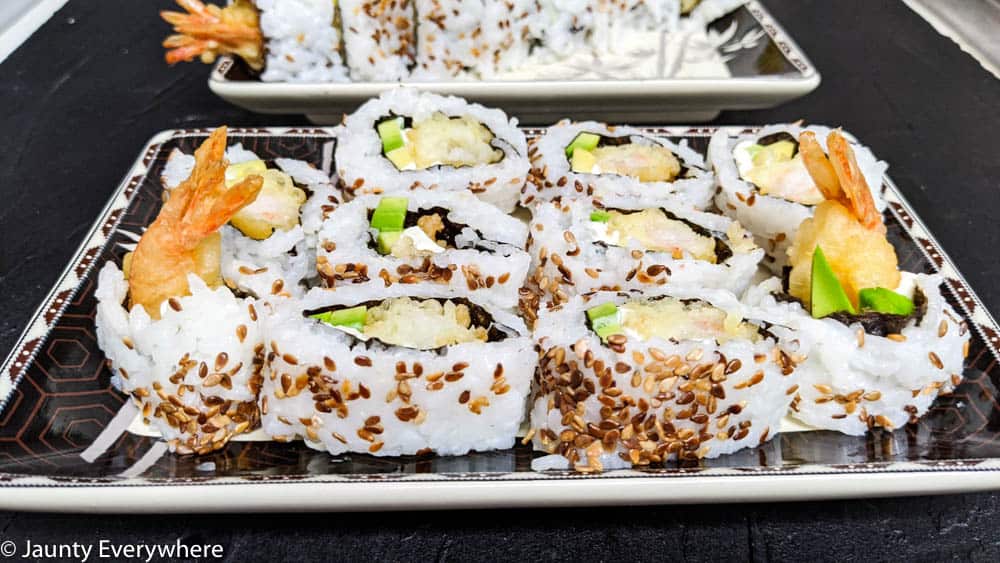
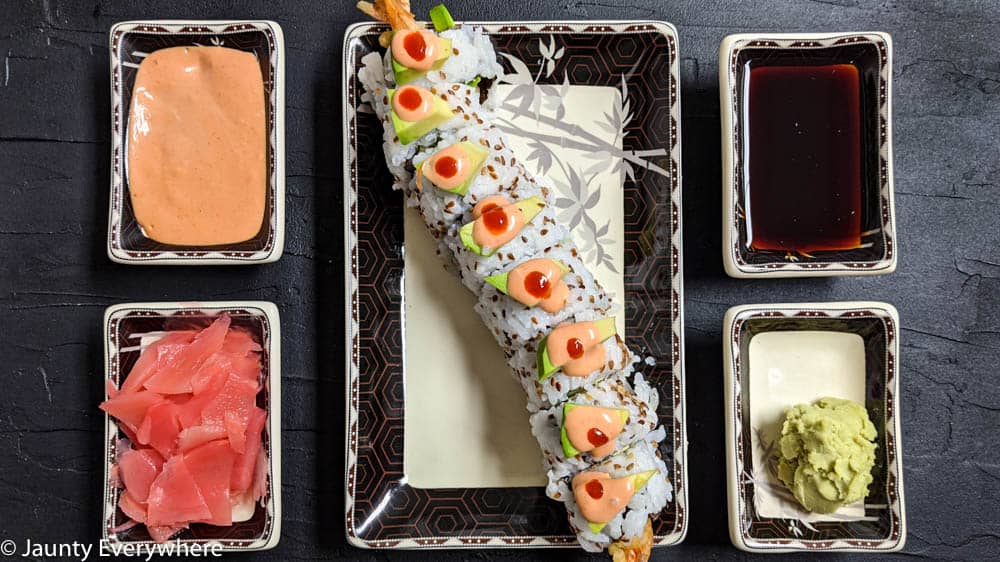
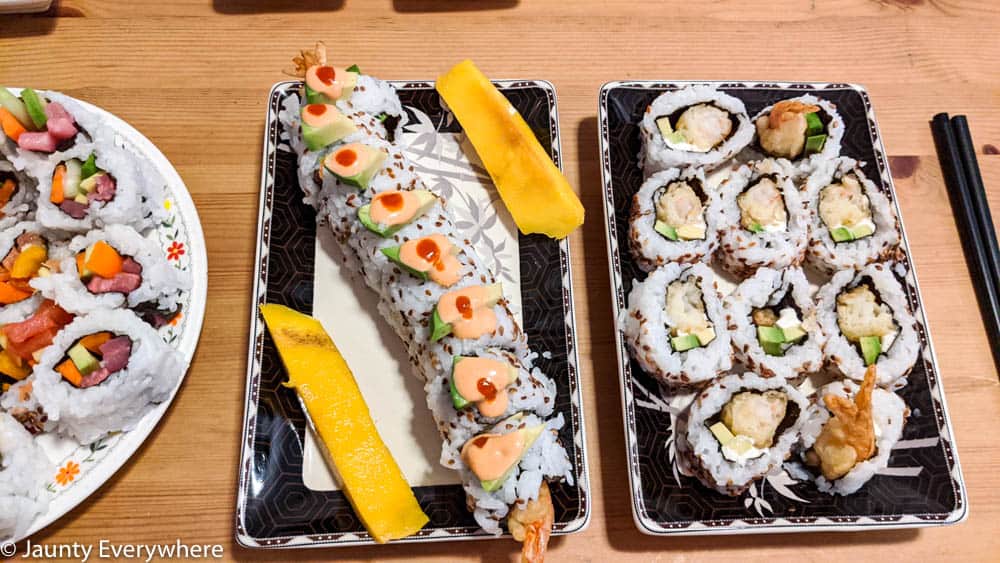
Plating a sushi roll
Plating sushi makes us feel like professional chefs (we’re not, but we can pretend).
Plating is when you lay food out on a plate in an artistic manner so that it looks especially appealing.
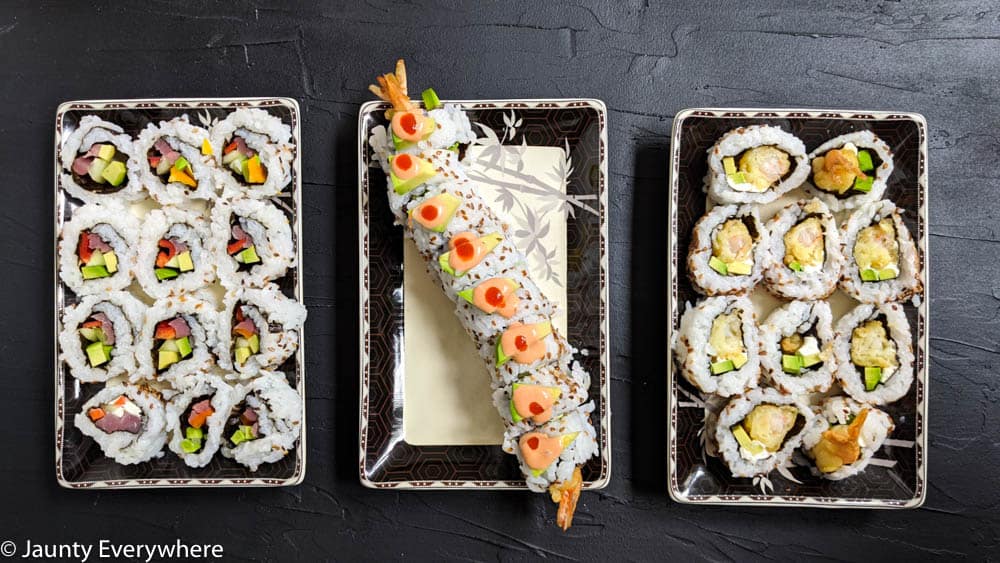
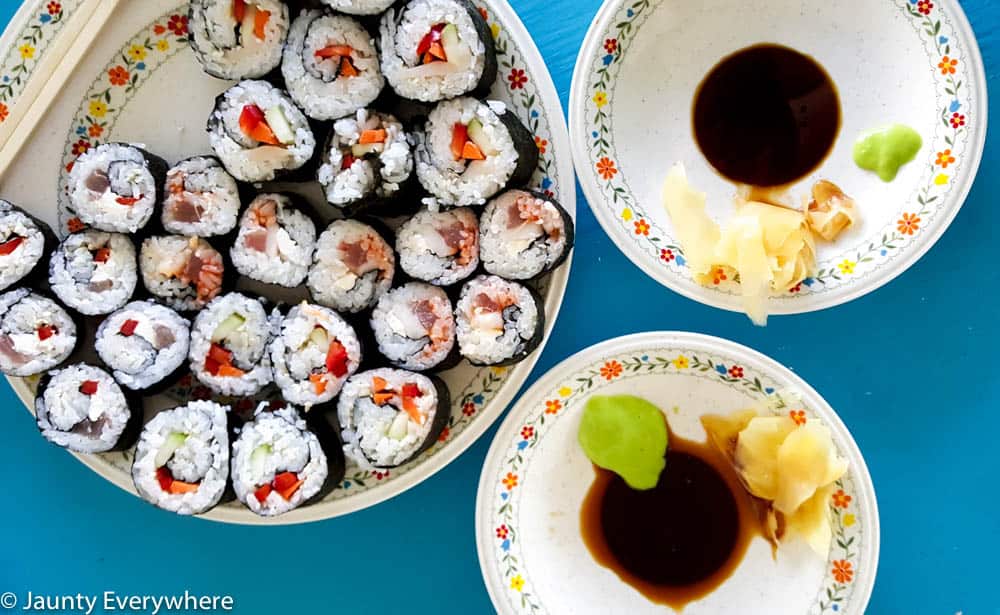
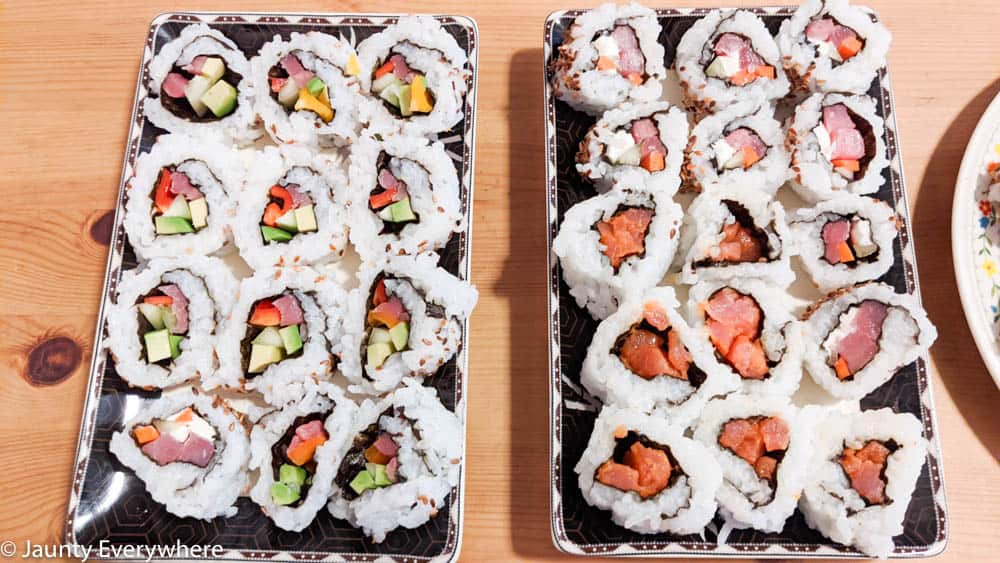
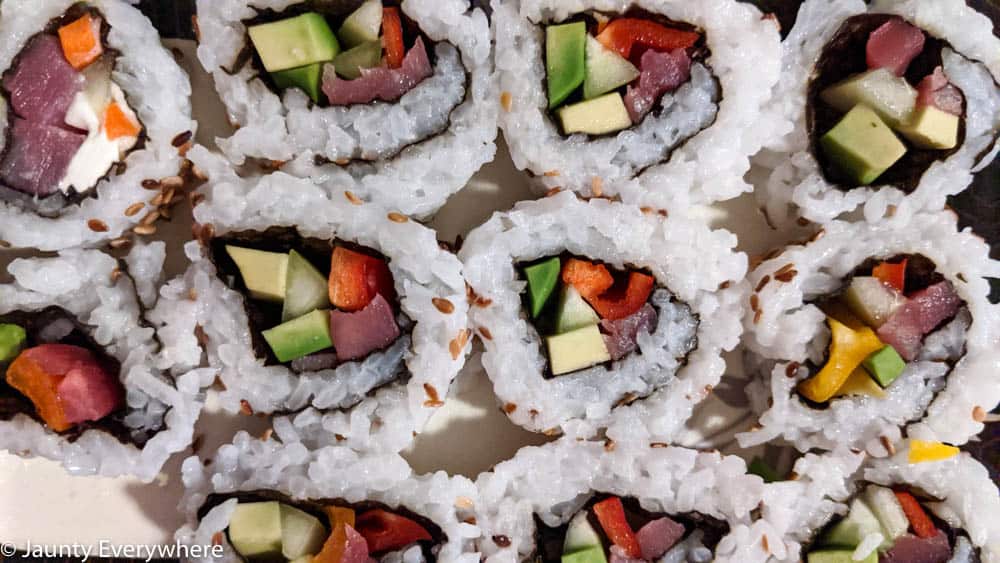
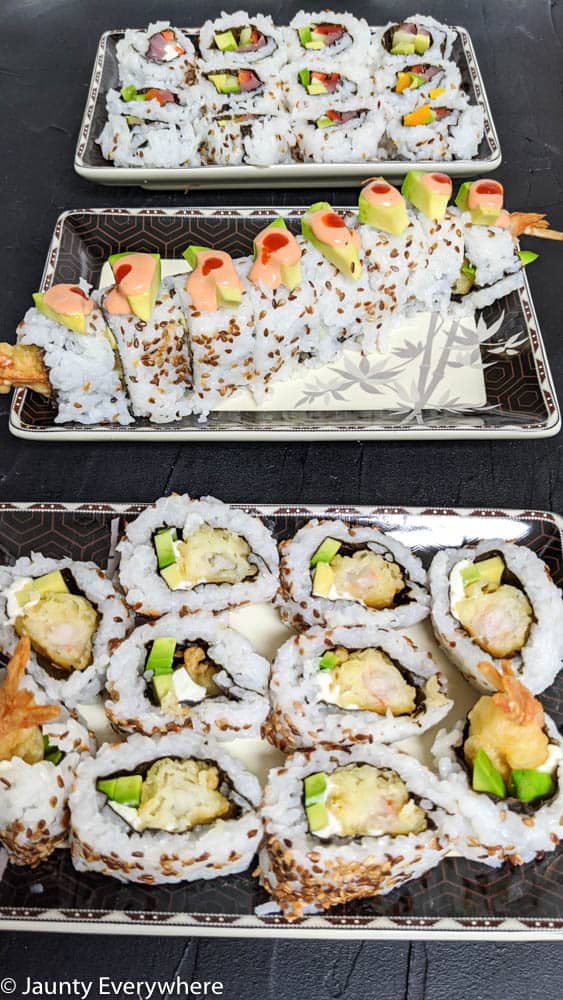
Sushi makes plating easy because it’s naturally photogenic. You can either lay your pieces face up to see the inside filling:
Or plate it like a log and decorate the top. Like the tempura shrimp roll Jordan plated with avocado pieces, spicy mayo, and sriracha drips below.
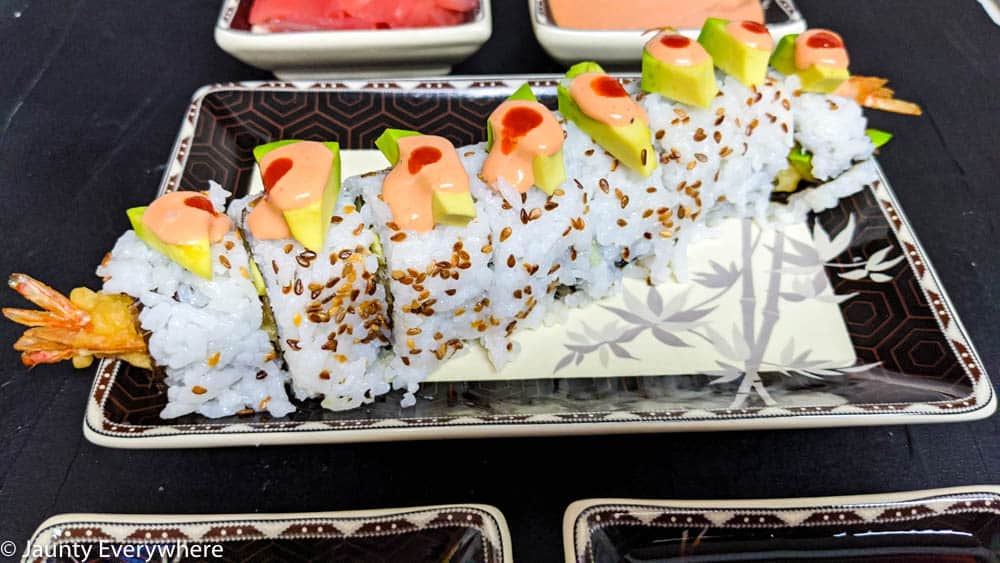
Have some fun. Use the sauces you made to garnish.
Or, if you’re ready to eat, set the table and dive in.
Serving sushi
Serving sushi is probably easiest done by laying the platers of sushi in the center of the table. Each person can have their own selection of sauces. Join together family-style by choosing a piece or two of sushi and dishing up your plate and then adding whatever sauces or garnishes you want.
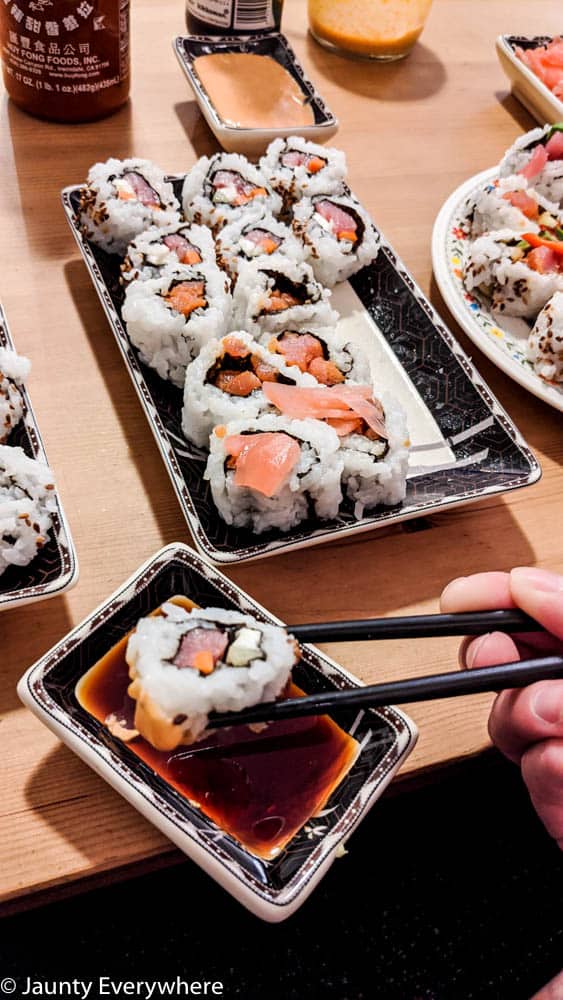
Eating sushi
We tend to eat sushi with wasabi, soy sauce, spicy mayo, and a piece of pickled ginger on top. We’ve recently learned that the ginger’s meant to be a palette cleanser between pieces (always learning, right?). But we love the zing of the ginger melded with the wasabi and sushi flavors, so we eat it on top. Perhaps that makes us Philistines…I don’t know.
Find what flavor combos you enjoy most.
Another note is that typically a piece of sushi is eaten in one bite. If you try to bite it in half, the nori unravels and the sushi falls apart.
Using chopsticks
Learning to use chopsticks is a fun international dinner activity. Check out the video below on how to use chopsticks to get started.
Making sushi basics summary
- Decide what kind of sushi you want to make
- Create a shopping list
- Go shopping/order supplies online
- Gather all ingredients and tools
- Start sushi rice
- Chop veggies and fish
- Make sauces and prep garnishes
- Cool rice
- Once the rice is cool, start making sushi!
- Serve sushi and try using chopsticks for dinner
Resources
Just One Cookbook Easy Japanese Recipes – Spicy Tuna Roll
Just One Cookbook: Easy Japanese Recipes – Dragon Roll
Minimalist Baker – How to Make Sushi without a Mat
Fifteen Spatulas – How to Make Sushi Rice in a Rice Cooker